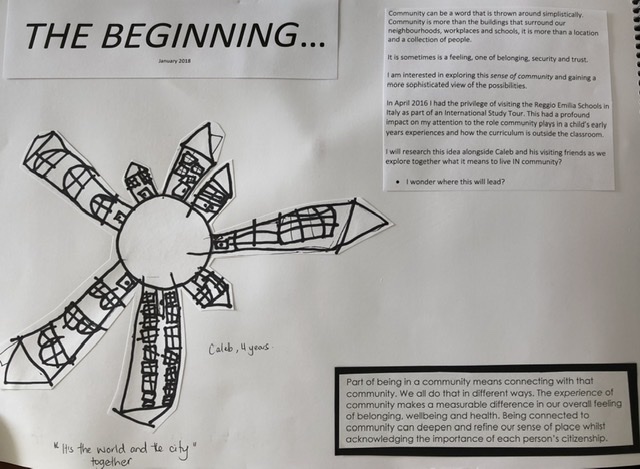
Over the past few months, I have been collaborating with my young (now 6 year old) nephew, Caleb to translate his amazing drawing of his local community into fabric (a quilt). Caleb’s mum took him out (this started when he was 4 years old) into his surrounding local community and talked about the meaning of being part of a community and interaction with both people and buildings. Over various outings he would draw (in situ) some of the buildings in his area. She would send a picture to me via private message showing me his drawings. Immediately I first saw them, I thought wow I would love to do these in fabric. Time went on and so his collection of drawings grew.
I was then commissioned to translate his drawings in fabric. On a brief visit to Melbourne in 2018 I had a consultation with the artist and had copies made of his drawings.
I then came home and cogitated for some time on how I would execute his drawings. My primary objective was to maintain the integrity of Caleb’s ‘mark’ and the character of his line and drawing in my interpretation of his journey.
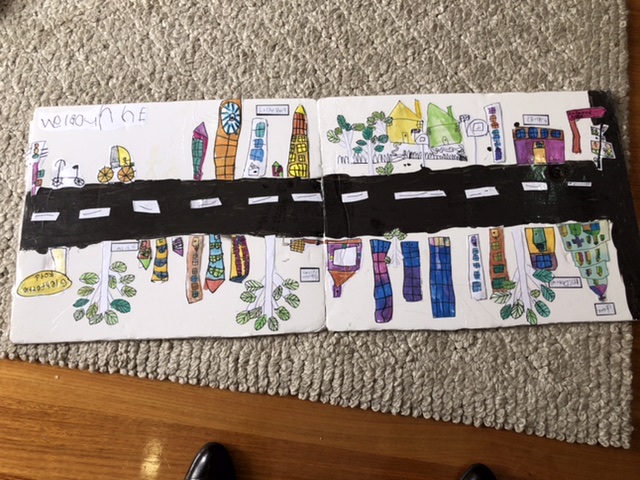
I came to the conclusion that it was beyond my capabilities to execute this at the size it was, it would require a lot of embroidery rather than appliqué and fabric. So I enlarged the drawing from 2 A3 drawings to 2 A1 drawings, this then allowed me to use fabric for all his black lines rather than thread.
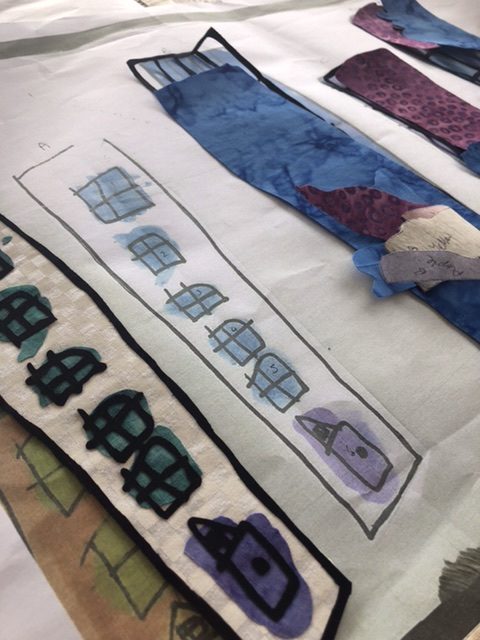
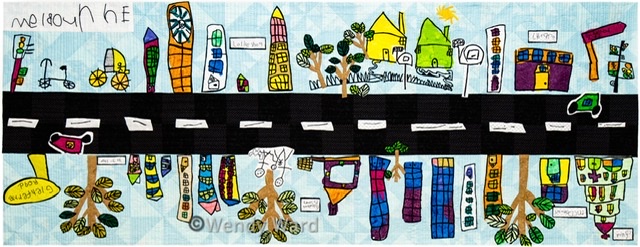
In a nod to my quilting/patchwork interpretation I decided to ‘piece’ the background/sky and road. I chose to use a variation of the pinwheel block for the sky to signify breeze and movement and a checkerboard for the road.
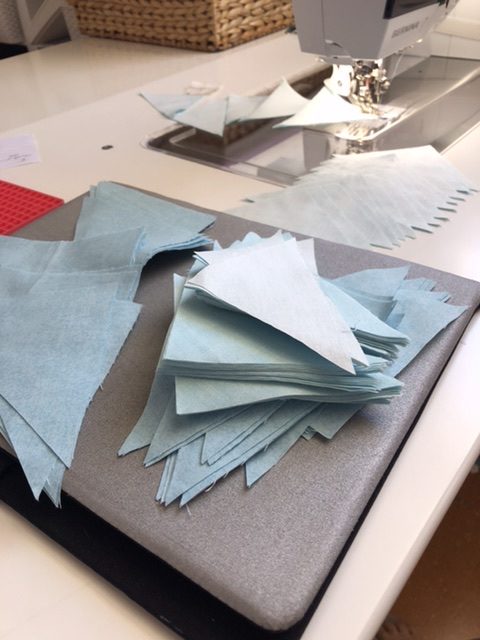
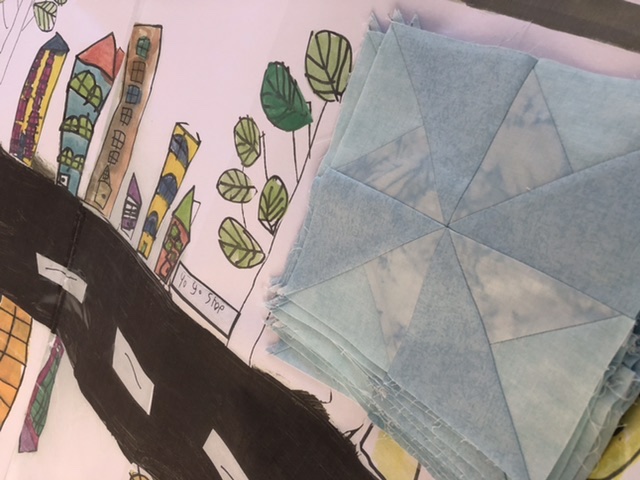
Pieced pinwheel blocks for sky

While I was piecing these blocks, I was mulling over how I would proceed with the quilting. After processing various scenarios I decided that I would quilt the whole background and then appliqué the various elements on afterwards and stitch around them to secure them down.
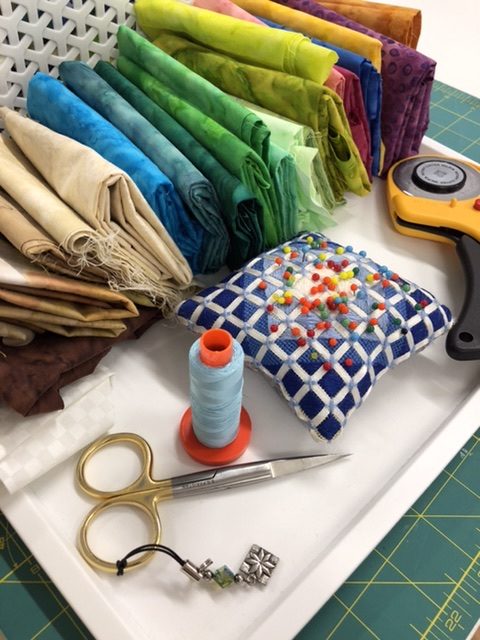
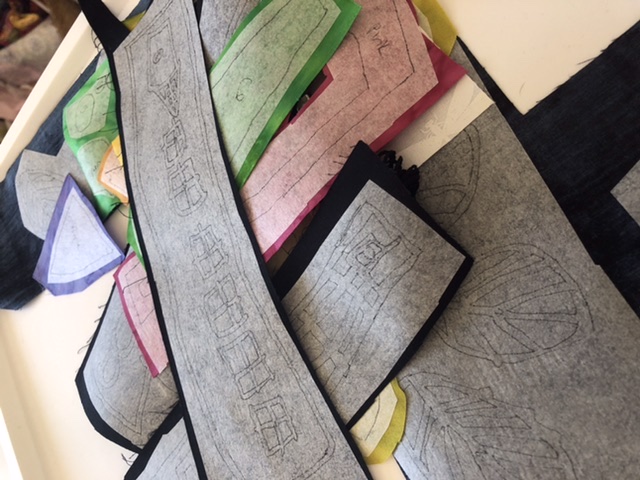
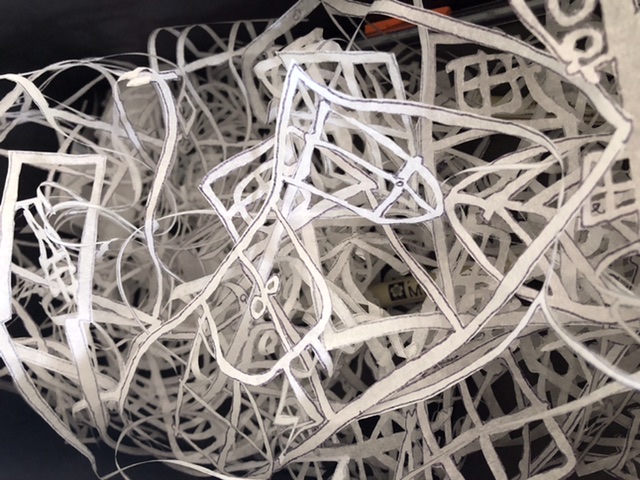
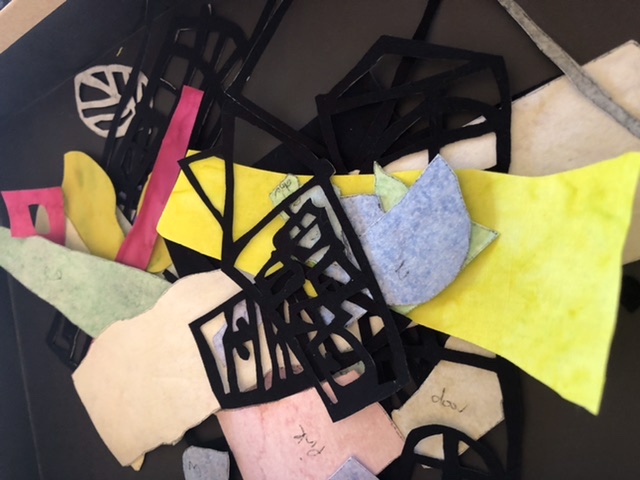
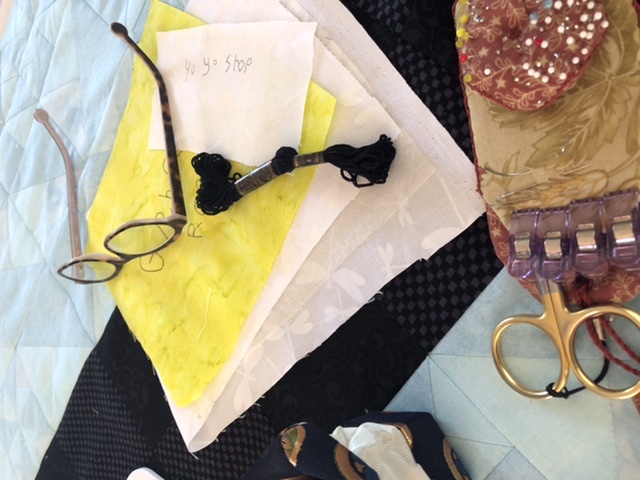
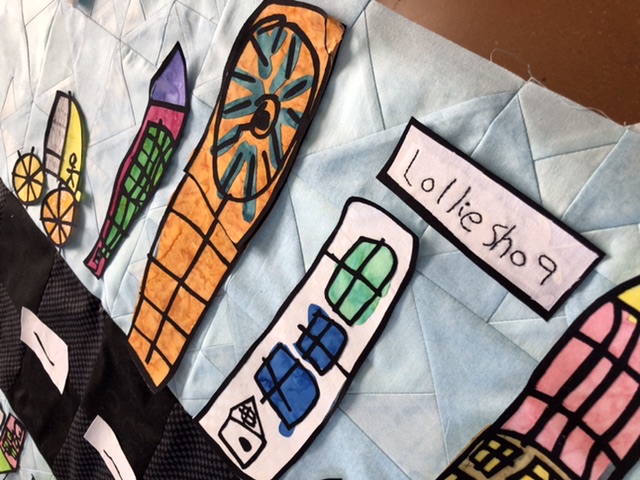
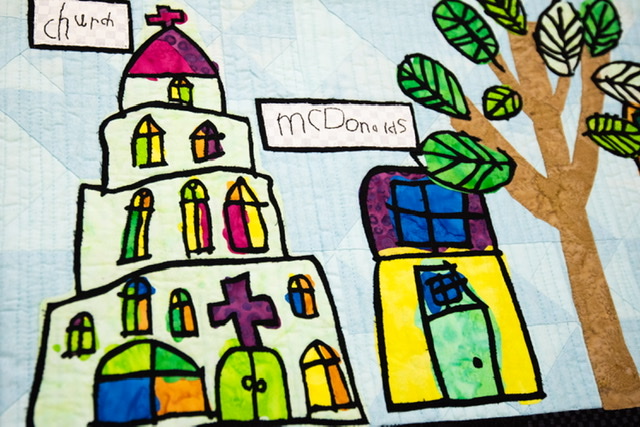
Next I pulled fabrics from my stash, making sure to select either batiks or fabrics with a very close weave to mitigate chances of fraying, as there were going to be lots of small intricate pieces. I used a light box and traced the reversed drawings onto Vlisofix (fusible webbing) which was then ironed onto the appropriate colour and cut out by hand. All parts of this quilt were hand traced and hand cut in order to preserve the artists mark. I have learned since making this quilt that I could’ve used a ‘scan and cut’ machine, but to be honest the numerous pieces of cutting wasn’t arduous and quite easy to do whilst watching TV at night.
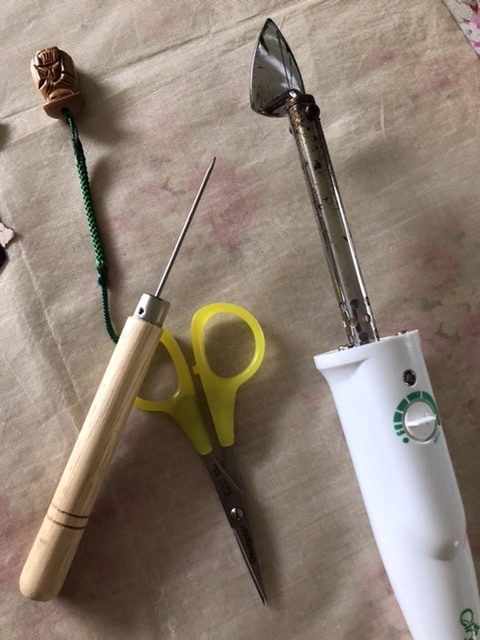
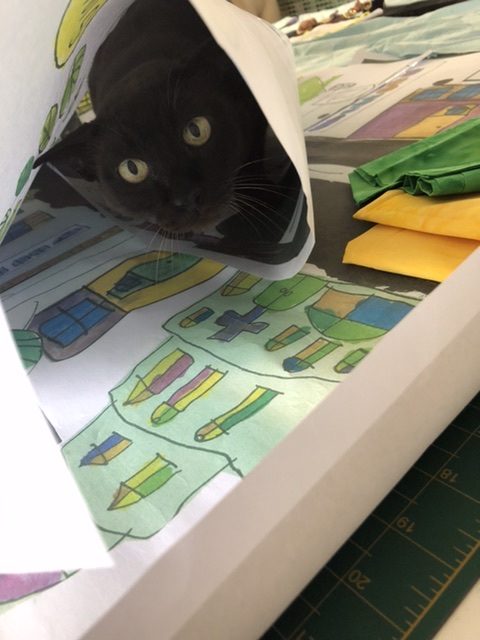
I had some help, on occasion, from Jago who was very interested in the project!! I couldn’t have done with without my clover mini iron, my omnigrid super sharp small scissors and my stiletto, reasonably simple tools but made my job so much easier especially doing all those tiny bits of windows for the church.
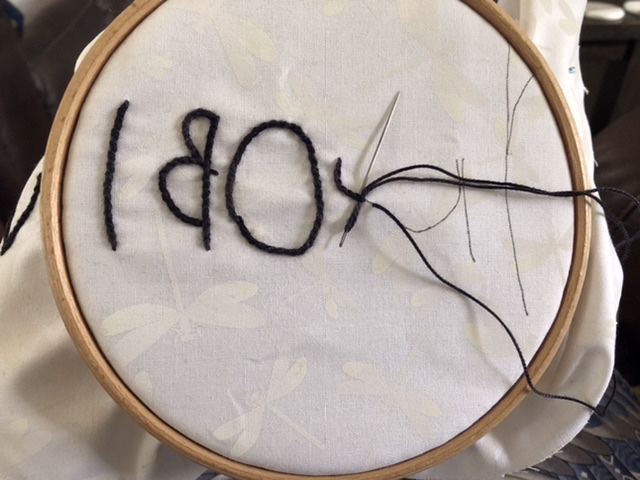
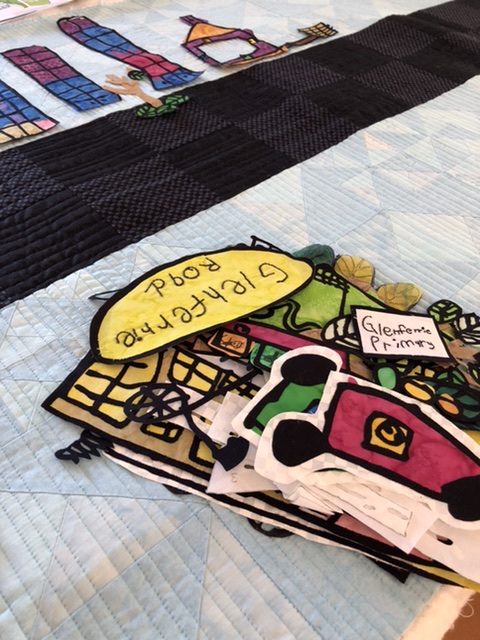
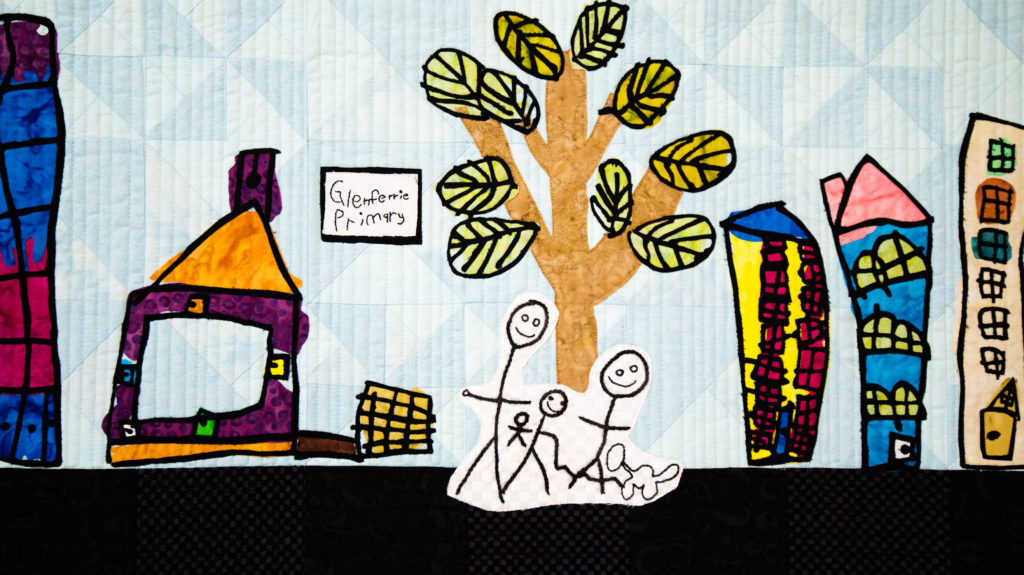
I traced Caleb’s writing onto white cotton, backed with a fine knit interfacing to hide the thread knots and carrying on the back, this also stabilised the fabric while I was stitching it. I used whipped chain stitch in pearl #5 for the larger letters and used pearl #12 in backstitch for the smaller letters.
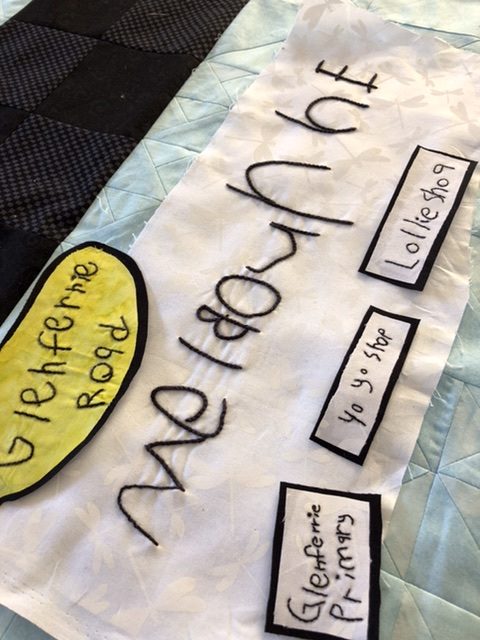
Embroidered signs
Once all the components were were executed, I then had to decide whether I would applique them to the quilt, then stitch around all the shapes and black lines or whether I would stitch all the lines, leaving the outside ones and then stitch around the outside lines once it was applied to the quilt. I then also had to decide what kind of stitch to use, whether it was a blind hem, blanket stitch or just a plain straight stitch. Lots of samples were made before deciding to straight stitch all components separately and then appliqué them onto the quilt and stitch through all layers to anchor them. This posed the dilemma that because all the black lines were quite thin the sewing machine needle and thread would ‘push’ the weave of the fabric to the outside and it would start to ‘fray’. I resolved this by using Sew Fine thread and a #70 Microtex needle. My machine did not like the sew fine thread in the top and bottom and it would shred every few minutes, this was so frustrating but I had no other option and just persevered on. Towards the end of doing this marathon of stitching I discovered Aurifil 80wt cotton, my machine loved it and I had no problems, but I only had a few short hours left to do by this point!
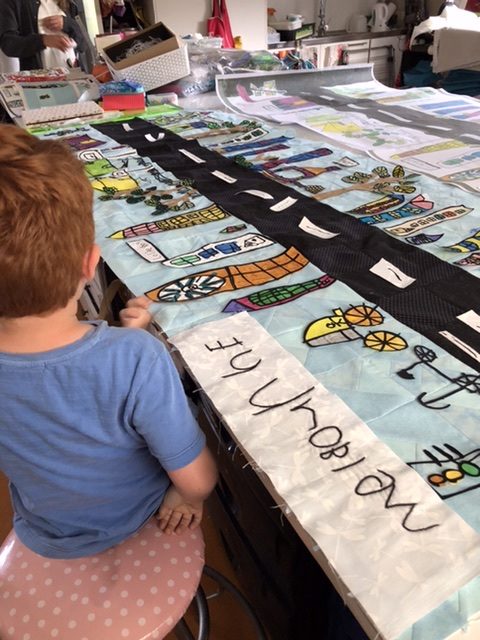
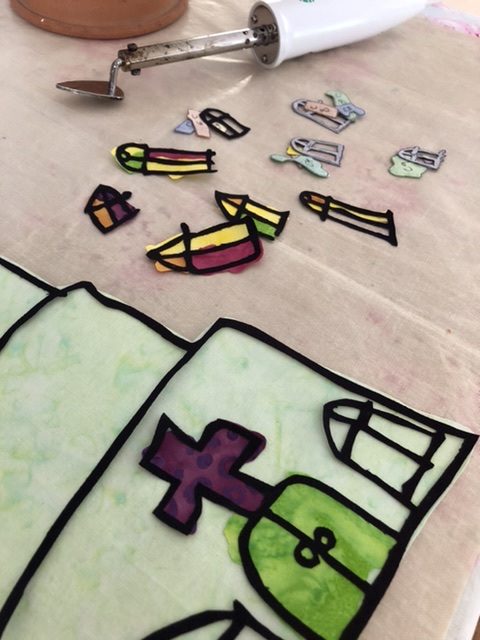
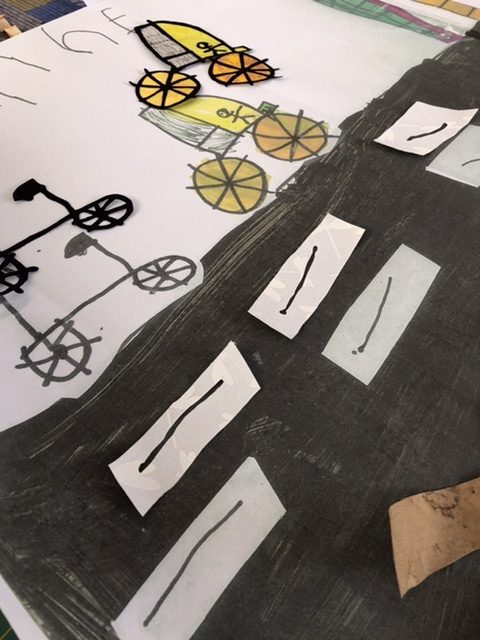
During the process I had a visit from the artist and we had a wee consult, I asked whether he thought it needed anything added or subtracted. He said it needs people and cars and offered to draw them for me there and then. The artist requested ‘texta’s, paper and a clipboard’ hmmm I assumed ‘texta’s’ were our equivalent of a sharpie marker and yes that was perfectly adequate for the job, using a rotary cutting mat and a bulldog clip sufficed for a clipboard, lol. Caleb had specific instructions as to where the extra components where to go.
‘The sun has to go above the pointy part of the roof of my house. The family has to go between the two houses.’
Hmm I had to take artistic licence and vary the instructions a little. There was not enough room between the houses for the family, so they went under a tree outside the school, the sun was placed as per instructions.
After doing all the stitching inside every shape and line (eye rollingly boring part) I appliquéd each piece into place and then stitched around the outside and through some parts of the middle of each piece to anchor them to the quilt.
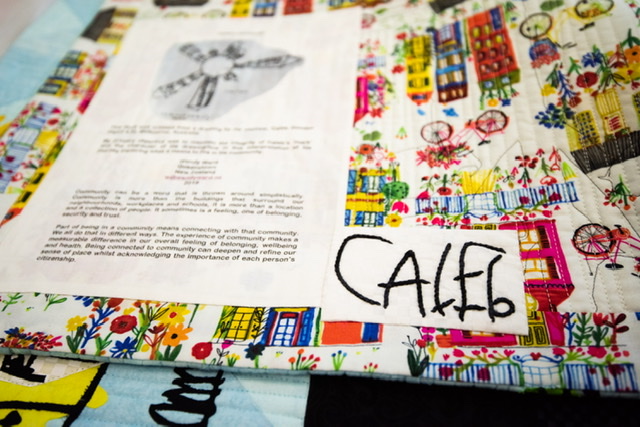
While Caleb was giving me the extra drawings and instructions I asked him to sign his name (as every artist always signs their work), which I then stitched and added to the back of the quilt beside the label.
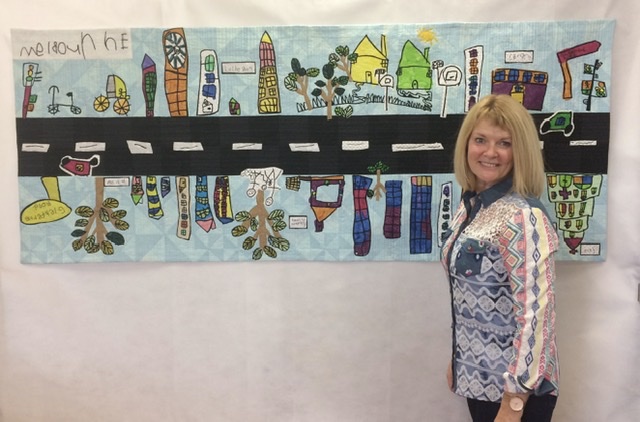
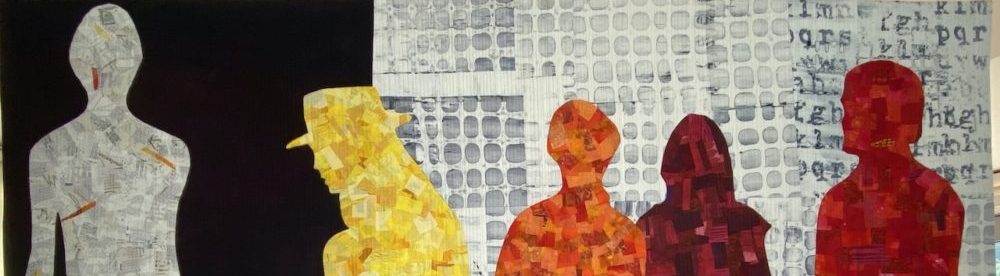
It was such a fun project to do and I was fully engaged throughout the process. I submitted Caleb’s Community’ as an entry for the New Zealand National Quilt Symposium bi-annual exhibition. I was delighted that it was selected.
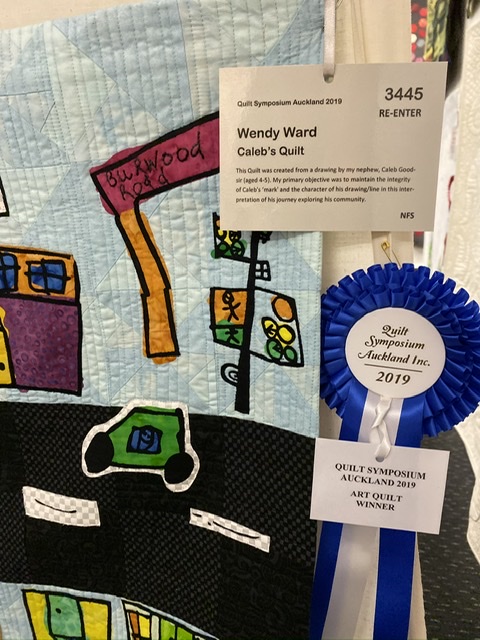
I was absolutely delighted, excited and humbled to be awarded winner Art Quilt category at our National bi-annal exhibition. My job with this quilt is now done and it will wing its way to Australia now to be with its co-collaborator. It was such a joy and a valuable learning project to completed, I thoroughly enjoyed every minute of doing this quilt. Who knows, if you are involved in early childhood learning you may see it at one of Kelly Goodsir’s presentations.